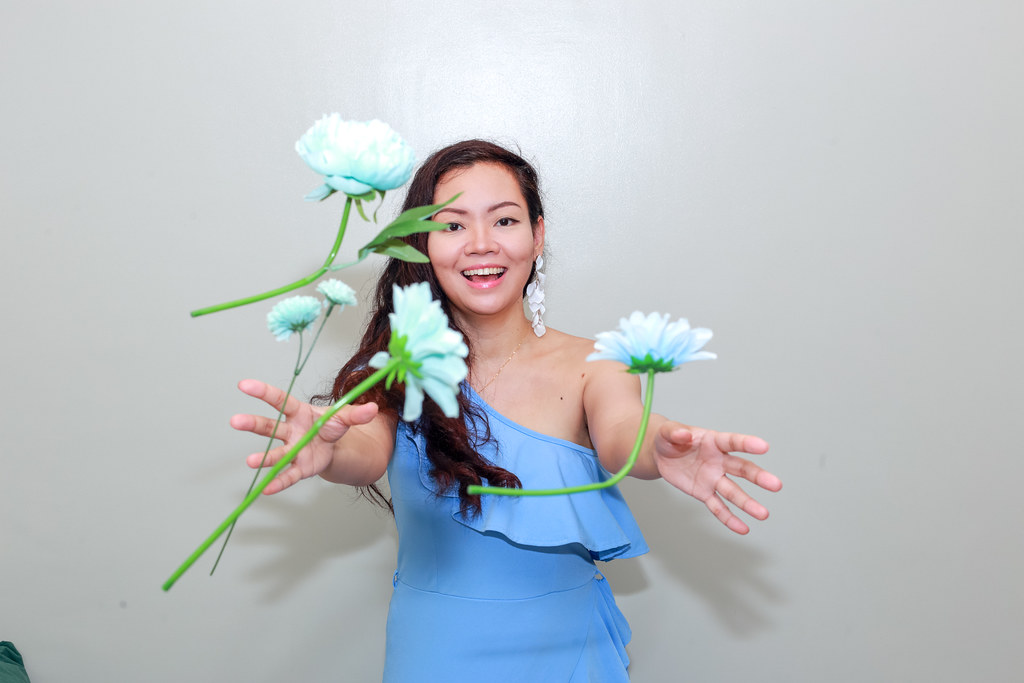
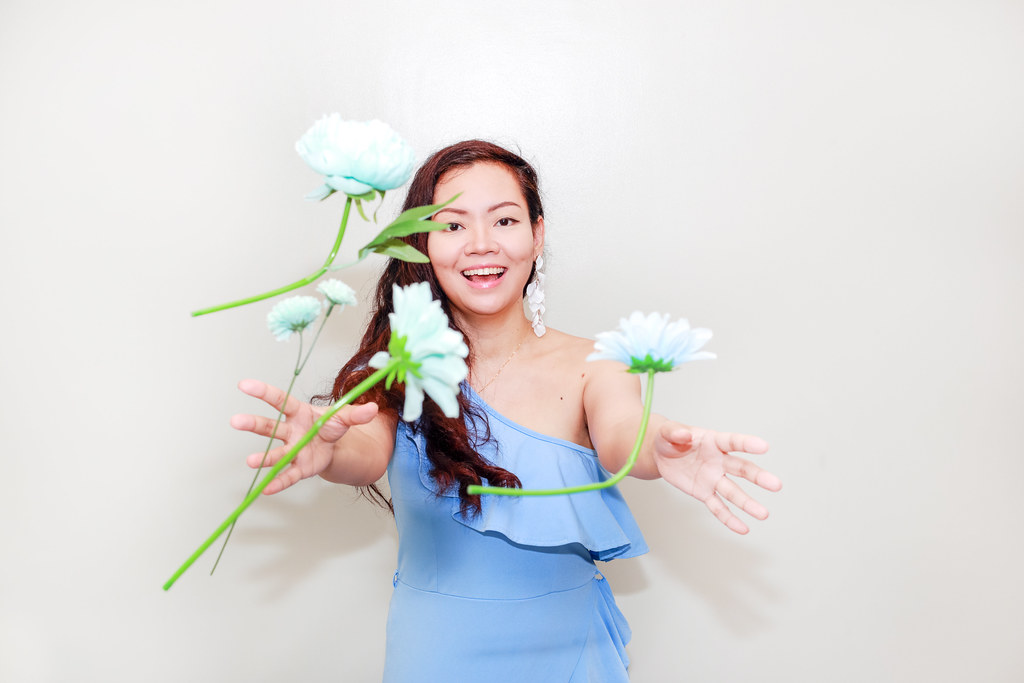
My wife, Jaycelle, is a social media influencer and brand ambassador. This video was a photoshoot session we had for Closeup (check out her Instagram post about it).
As always, I used my trusty Canon 6D and Speedlite 580EX II. Jaycelle enjoyed posing and jumping with all those prop flowers. Photographing is just the first part — the second part was enhancing and exporting the images.

In enhancing
There was a hundred photos we took and Jaycelle just picked a handful for her Instagram post. Me, on the other hand, I retained two batches of 36 photos. Why 36? To keep it lean (it was based on a full roll of film).
I have these phases in editing photos:
- Shortlisting
- Enhancing part 1
- Enhancing part 2
- Exporting
- Editing (as needed)
Shortlisting
Being a RAW format shooter, I use Digital Photo Professional (DPP) in tagging the photos that will see the light of day (a redundant pun, I know). I only use two tags:
- 5 stars
- Reject
The rejects are the offshoots. They go straight to trash. That’s how our brain works, right? Or I mean, that’s how to properly maintain the slushies in our skulls, don’t overload them. But really, it was just two years ago that I embraced this process of throwing stuff away.

Enhancing part 1
I used the word enhancing because this is not yet the editing part. I see enhancing as color correction and cropping and editing as image manipulation via Photoshop or similar tools.
Once I have those shortlisted photos, I would run them all under the following settings sequence (still in DPP):
- Auto gamma adjustment
- Auto lighting optimizer: standard setting
- Manual adjustment in gamma histogram
Oh, yeah, don’t forget to save (it’s the most important thing). When everything looks proper, I will then export all photos using the highest settings of JPEG. After which, I delete all RAW files because they are nasty in taking up space in the hard drive.
Enhancing part 2
Now that I have the JPEGs, they are not yet ready for primetime. They still need to go under more makeup using Adobe Lightroom. You might be imagining an hour-long makeup process — no. I have a preset filter that gets applied to all photos and they’re done.
Exporting
And for the final part — I export the photos in a high-resolution and low-resolution JPEGs. The hi-res photos go to Flickr for archival and the lo-res are for sharing in social media.
Editing
Now that I have “decent” photos, they are now ready for editing for any creative purposes they may serve. With this, I mainly use Adobe Photoshop. And after exporting the edited photos, I delete the source files because they usually sit there in the dark corner of the hard drive and they are so large they have their own gravity.
Wrapping up
I know, it’s a lengthy post that looks like a tutorial but really, it’s just an overview of my photography process. And I forgot to mention the starter of this post — the video of Jaycelle in her blue dress.
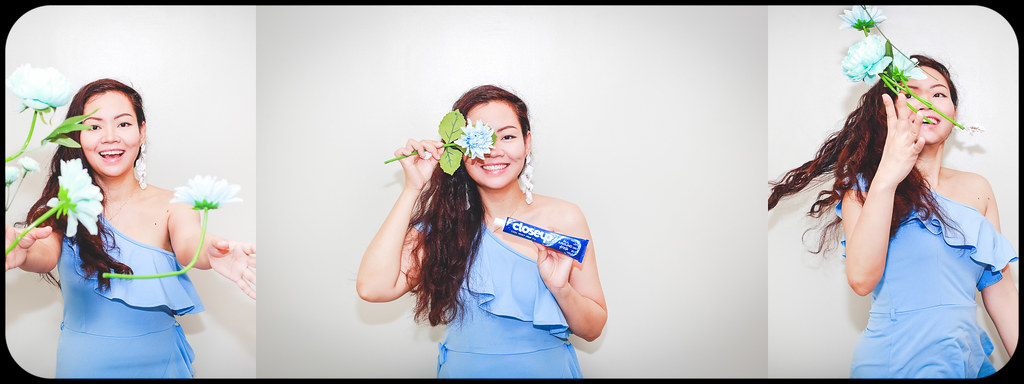
If you think that it’s easy for me to simply delete offshoots, yes, you’re right. But if they are a series that could be made into a “stop-motion” video, I immediately export them in lo-res — from RAW to JPEG without enhancements and stitch them in a video editor. Of course, for posterity.
Leave a Reply